Basic Settings
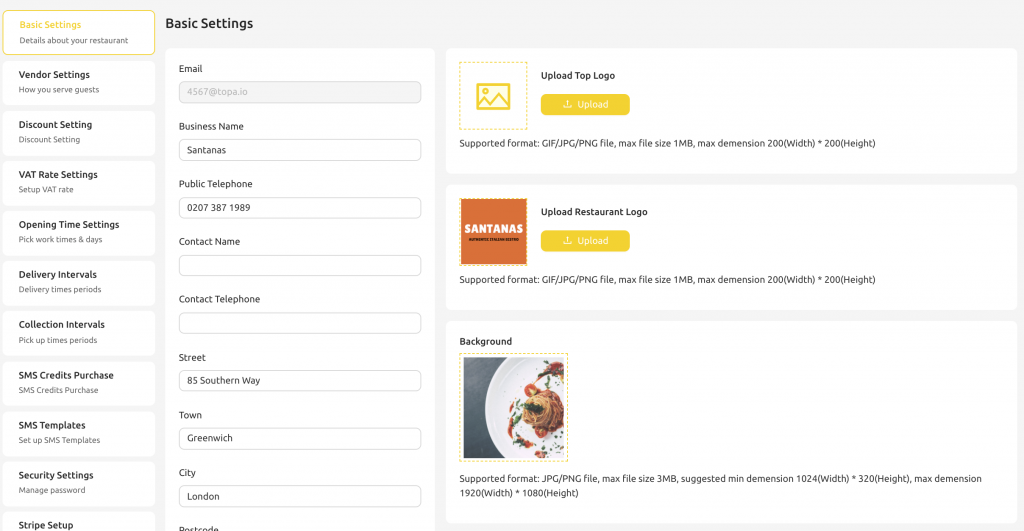
Here you can set your basic settings, add your Address which will appear to customers, your public telephone which will appear to customers, and another contact telephone if you wish.
You can also upload your logo and background which will appear to customers on your menu.
The logo needs to be 200*200 pixels
The background needs to be 1024 * 320
Vendor Settings
Here we have the main vendor settings to customize your experience.
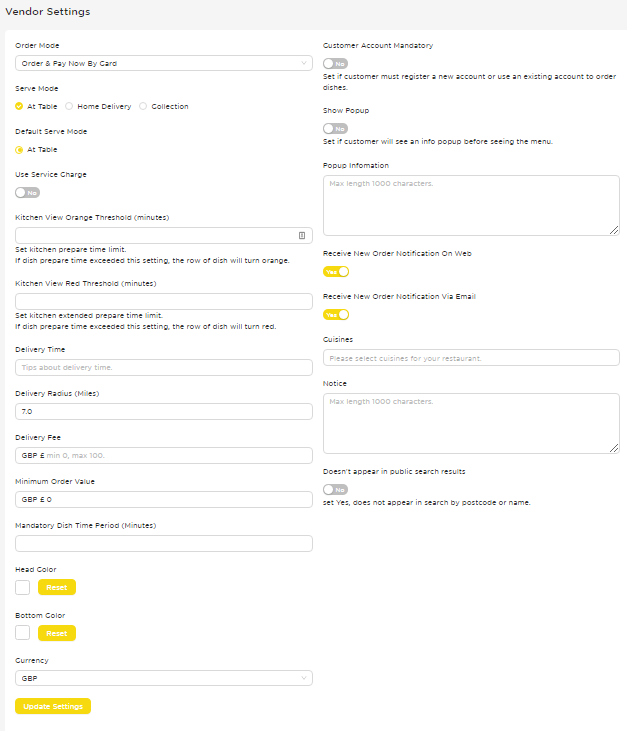
We will go through each setting one by one:
Order Mode
Here you can set which order mode is available to customers, Order Only (where they do not pay), Order and Pay Later (where they can order, but then pay later via the app), Order and Pay Now (where they MUST pay before you receive the order). Speak to your account representative to unlock other order modes.
Serve Mode
Here you need to select your serve modes available – At Table, Home Delivery, Collection, Room Service.
If you use Home Delivery, you need to also set, Delivery Time to show to customers how long a delivery may take e.g. 30 mins, Delivery Radius, Delivery Fee.
If you use Collection or Home Delivery, you need to set minimum order Value.
Default Serve Mode
This is the default serve mode which the menu will be in, for example if you set at table as the default option, and a customer navigates to your menu, they will automatically have at table set unless they change it to one of your other serve modes.
Service Charge
Here you can set a service charge %, this will show to customers and in all of your reporting.
Kitchen View Thresholds

Here you can set the kitchen view thresholds. The amount of minutes the dish will be waiting before changing colour, see kitchen view here.
Delivery And Collection Settings
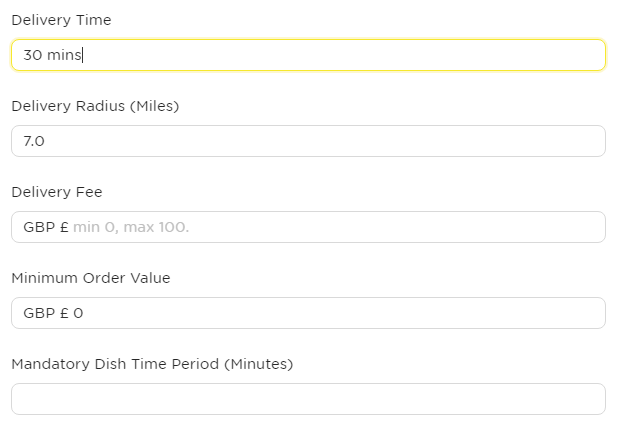
Here you can set your delivery time, which will appear to customers on your menu.
You can also set delivery radius, delivery Fee which will be added to all delivery orders, and minimum order value which will be applicable for all orders.
Mandatory dish time period is a advanced feature, ask your account rep.
Menu Colors
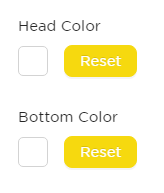
Here you can set your menu colors which appear to customers throughout the checkout process.
For example if we set them to green:

Currency Selection

Here you can select your desired currency in the system
Customer Options
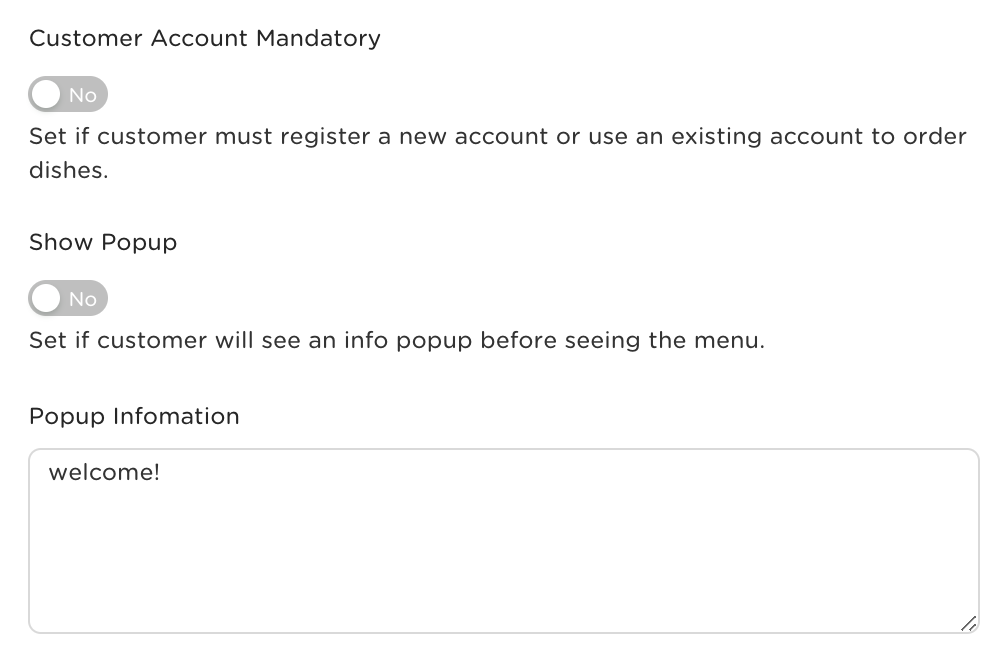
Customer Account Mandatory – Here we set if we want to force customers to setup a account the first time they order with you, this means they will have to save a payment method to make future orders easier.
Show Popup – Here we can set a popup to appear to the customer as soon as they see your menu.
Notifications
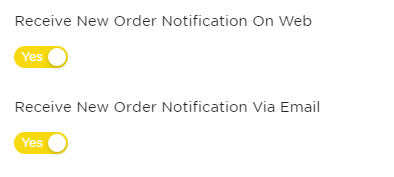
Here we can turn on or off if we receive a popup or email every-time we receive an order.
Cuisines

Here you can set what cuisines appear to the customer on our menu that you specialise in.
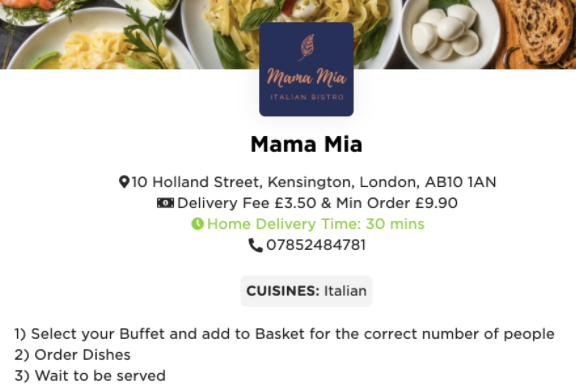
Customer Notice
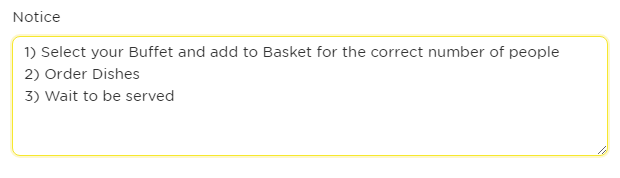
Here you can set a customer notice to appear to customers in your menu here:
Public Search Results
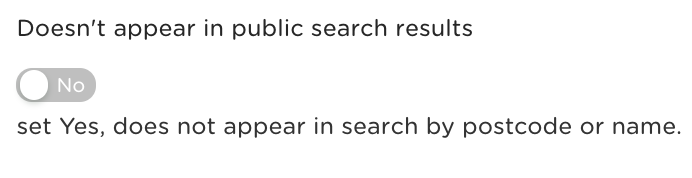
Here you can activate or deactivate whether or not you appear in our public results for customer’s searching for vendors.
Vat Number
Here you can enter your VAT Number which will appear on Receipts and Customer Receipt Email Notifications

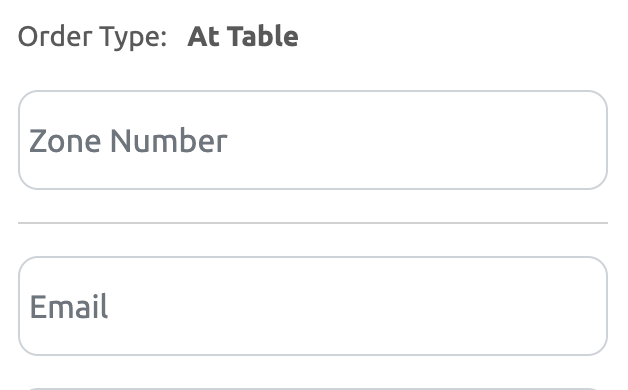
At Table Text

Here, you can customize the text a customer can see at checkout when prompted for their table number. For example, you can ask for their “Area Number” “Zone Letter” etc to customise for your venue’s requirements.
Vat Rate Settings
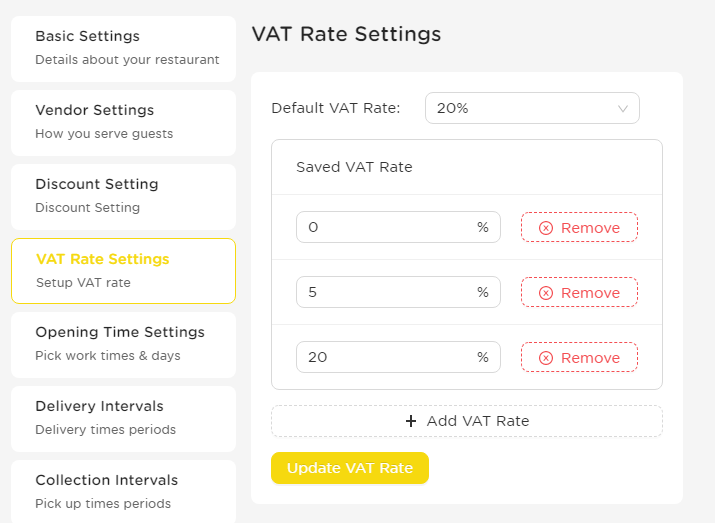
Here you can set which Vat Rates are live in the system, these VAT rates can be selected when creating a item or dish, and then your VAT reporting will be correct in the financial reporting section.
Opening Time Settings
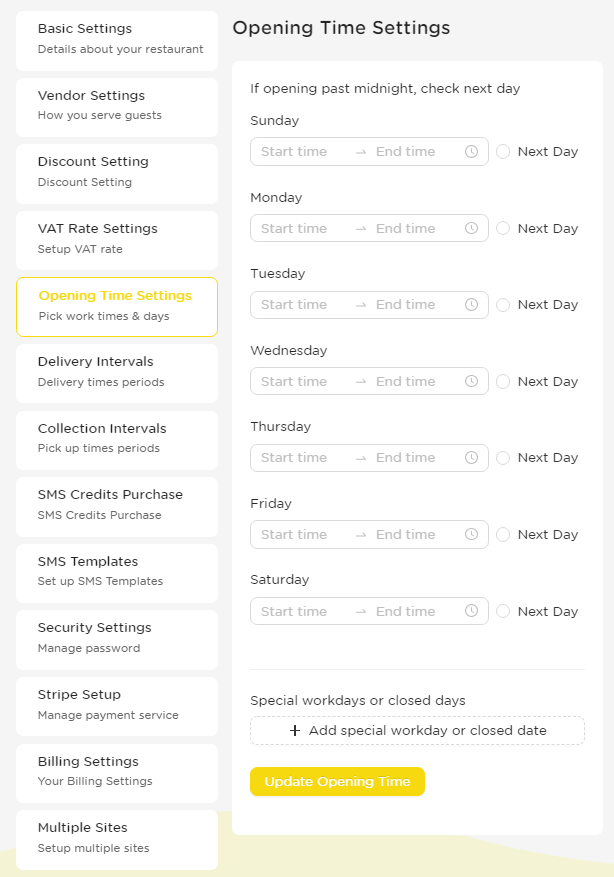
To set the times when your menu is open for people to view the menus, navigate to Vendor Settings and then click Opening Time Settings.
For each day of the week, enter opening and closing times. If you open past midnight on that day, enter the end time and tick the Next Day option.
For any days when you don’t open, just enter 00:00 for both the start and end times.
Finally, at the bottom of the page you can configure specific dates that the restaurant will be open or closed, outside of normal hours. Just enter the dates, start and end times, an optional note for internal purposes, and whether the restaurant will be open or closed during these times. (Note if specifying abnormal closed hours, your regular opening hours will apply outside of the specified times.)
Security Settings
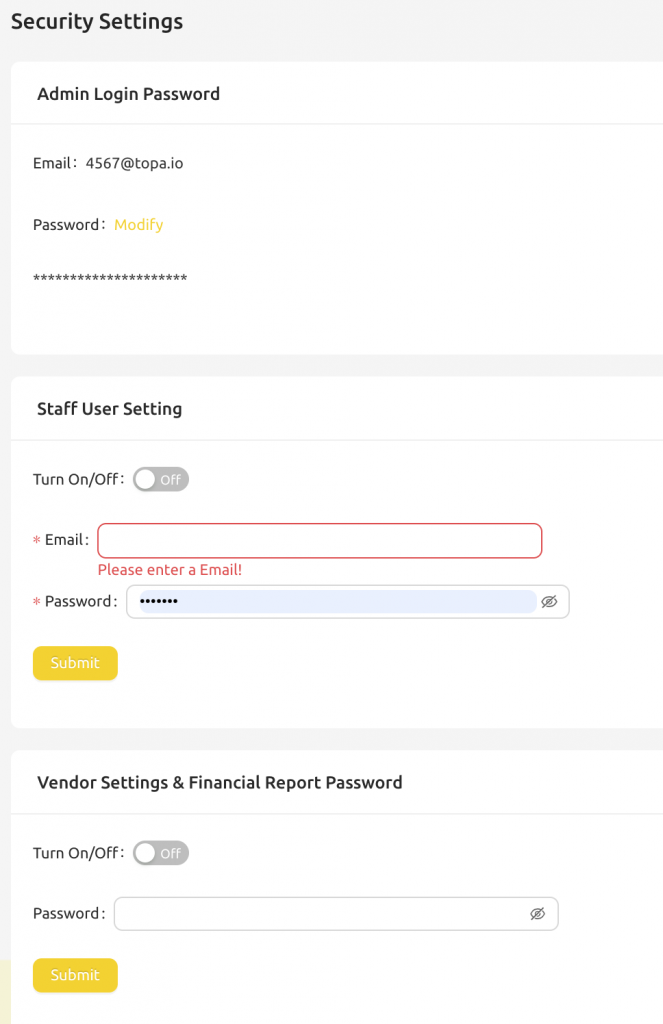
Admin Login Password
Here you can change your main admin login password
Staff User Setting
Here, you can set a new staff user, this is a user where staff can only access only access the Dashboard, Menu List, Order List and Live Orders pages.
Vendor Settings And Financial Report Password
This option applies to the admin login, if you do not wish for your staff to be able to edit settings, you can turn off/on an additional password to access any of the vendor settings and financial reports. Turn it on, set your password and click Submit, then next time you try and access vendor settings, you will need to enter this seperate password. This is good for if you want your staff to be able to edit the dishes and menus, but the rest of the settings. You may also like to try the Staff User setting.