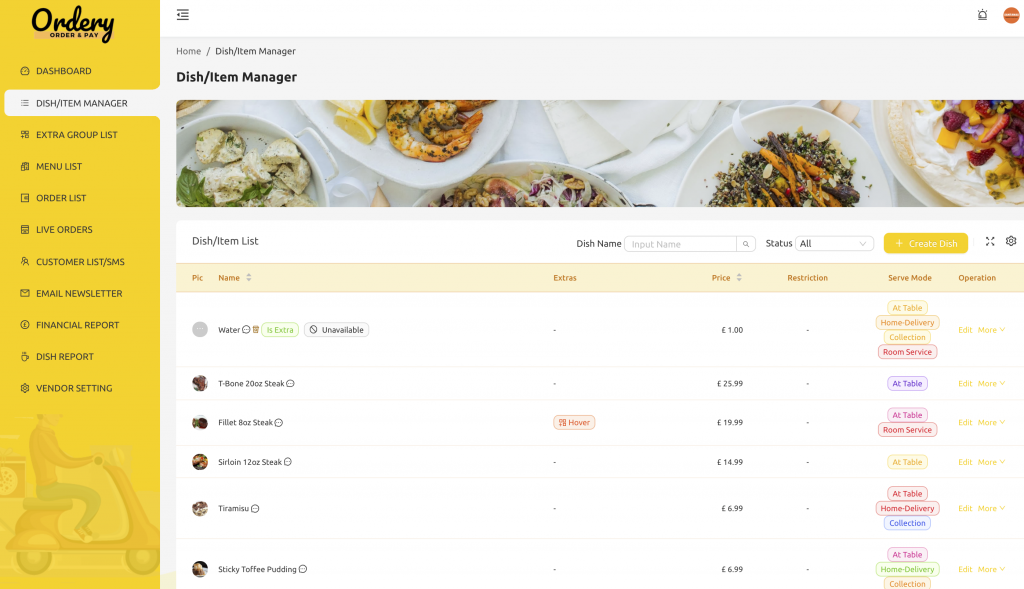
You can navigate to the Dish/Item manager by clicking on it in the left hand menu.
Here you can see all your dishes and items, the picture, what extras are available (by hovering over extras icon), the price, any restrictions e.g. allergens, and what serve mode they are available for.
Here you can click edit to edit a dish.
If you want to add a dish, click Create Dish in the top right of the screen.
Search for Dishes
You can easily search for dishes by their name or status e.g. Inactive

Create Dish
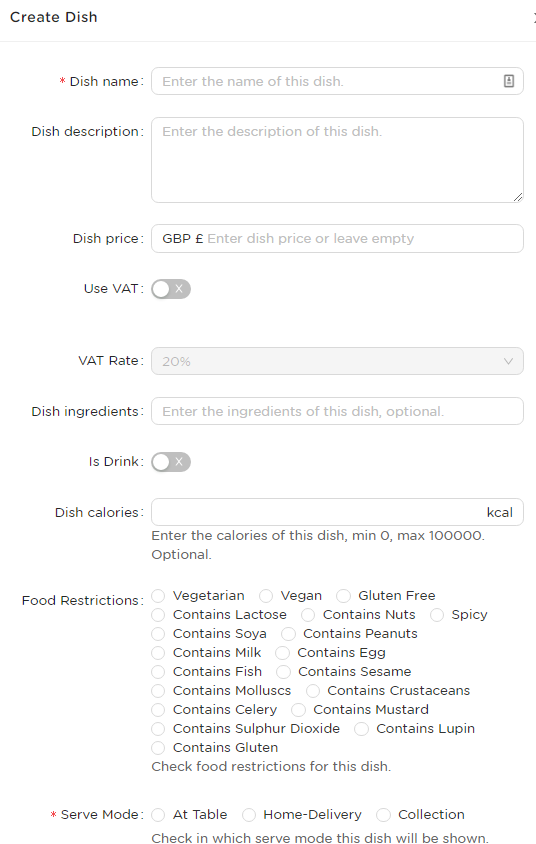
Firstly, add the dish name, dish description (if you want one to appear to customers), and dish description.
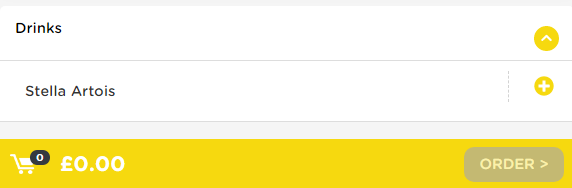
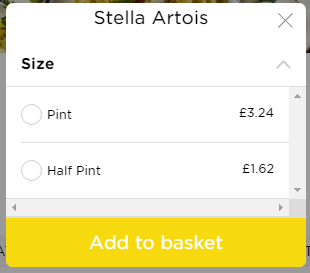
Dish Price – The price should be the price which the customer sees. You can add a price of £0.00 and you can also leave the base price of the item blank. If the price is blank, the customer will see no price, this is useful for example if you want to serve a “Lager” and then you can set half a pint or pint as an extra, and add it to the item. So the customer will see this below, this is a super useful feature. We will go on to how to do this (adding extras) in a moment…
VAT – If your business is VAT registered, click Use VAT, this will calculate the vat for you on the financial report. Select the VAT rate applicable to you / the dish or item e.g. 5%.
Ingredients – You can add ingredients here for your own use but this does not appear to customers.
If it is a drink item, click the toggle for “Is Drink”, and click any food restrictions so they appear on your menu.
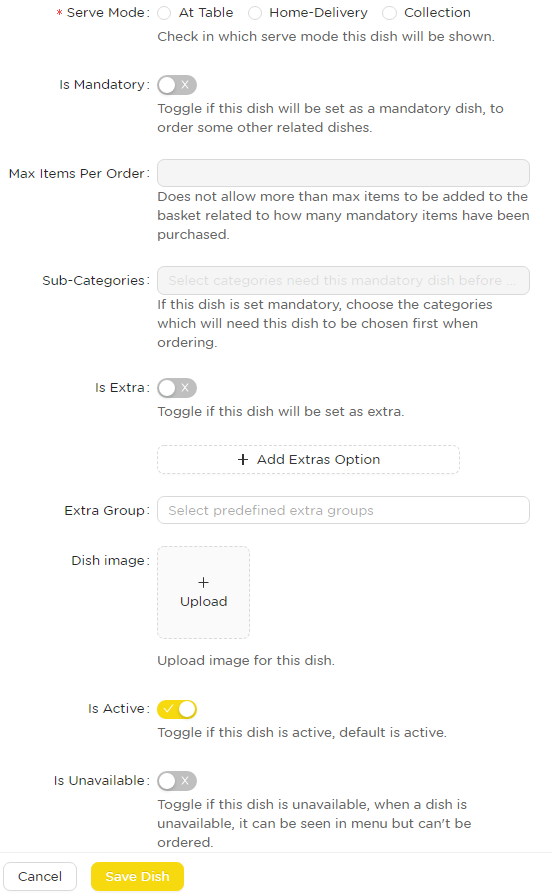
Serve Mode – Next select if the item is available for at table, collection, home delivery or Room Service.
Extras
If this item/dish you are adding is a extra for other dishes, ensure you toggle Is Extra.

Extras Options
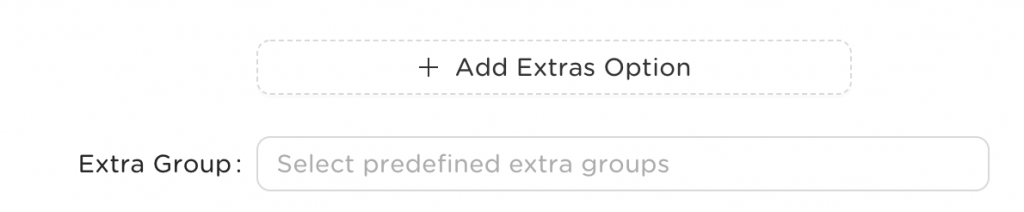
Here, if you want to add extras to your dish, you can add a custom Extras Option, or a predefined extras group. First, we will go through a custom extras option.
By clicking on Add extras option, we now have the below options:
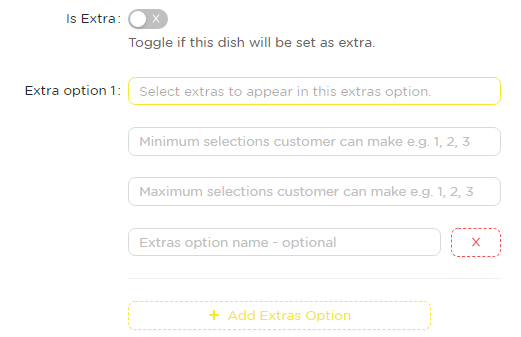
Here we can select the extras available, and the minimum and maximum selections a customer can make, and the name of the extras option.
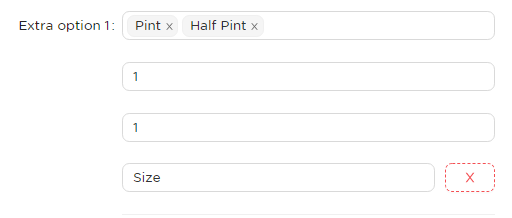
Here, we have entered half pint, pint and minimum 1, and maximum 1, with a name of “Size of Drink”
This will make this appear to the customer when they select our item “Stella Artois”

The customer will only be able to select one option.
If you want to have multiple extras questions, simple click Add Extras Option again, to have multiple questions.
Predefined Extras Groups / Extra Group List
On items, we can also insert predefined extras groups we have already made. For example, you may have 50 types of wine, and you want to have a extras option of Small Medium Large for each one. It would be tedious making a custom small-medium-large group every-time you add a wine. So, you can add a predefined extras group.
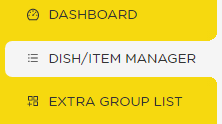
Click on Extra Group List
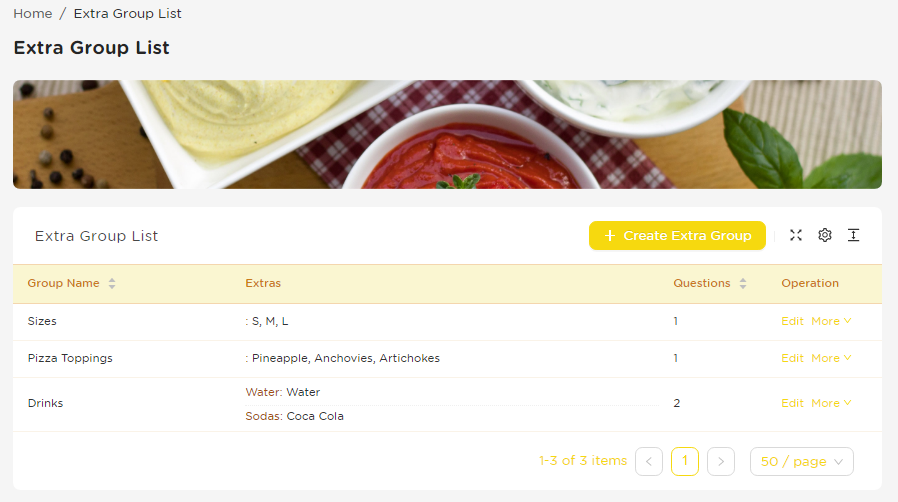
Here, you can see extra group lists we’ve already made.
To add a new one, click Create Extra Group.
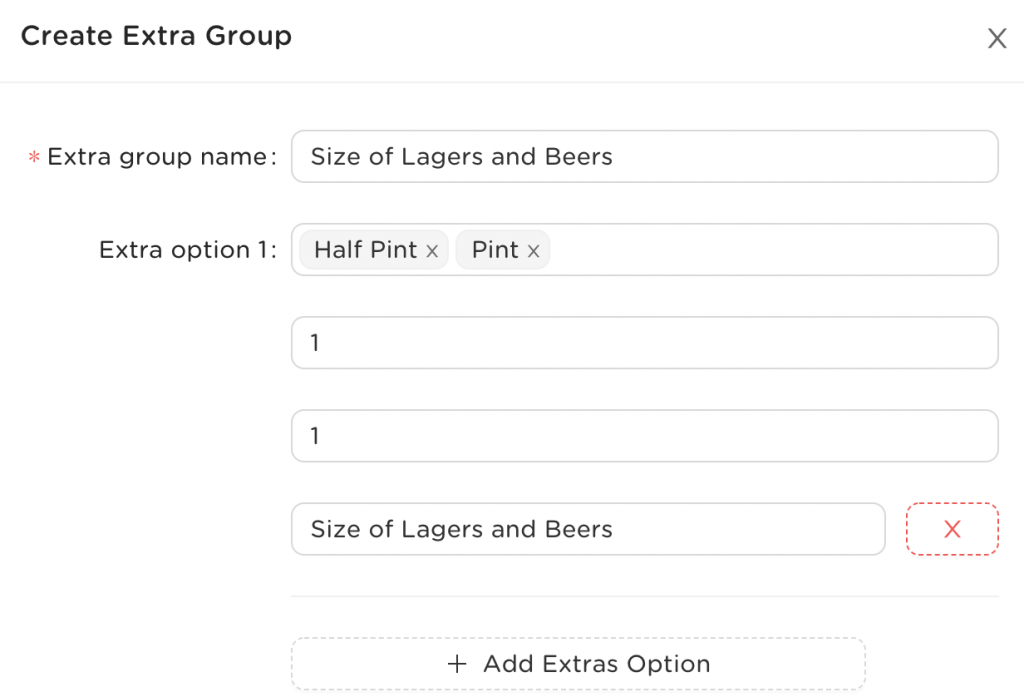
Here, we have created a extra group for Half Pint and Pint. We can also add more extras options to this group. Once you’ve made your extras group. just click save.
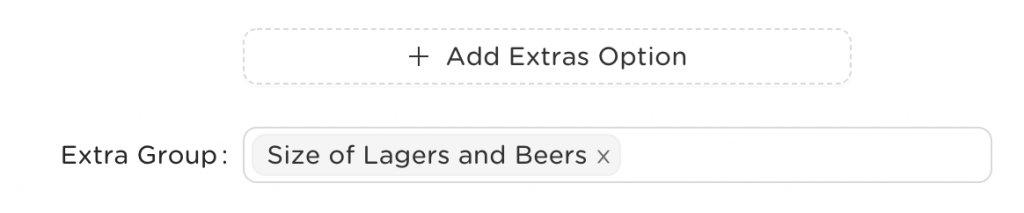
Now, if we add a new Lager, its very easy to just add this pre-made extras group like below:
Item Picture & Availability
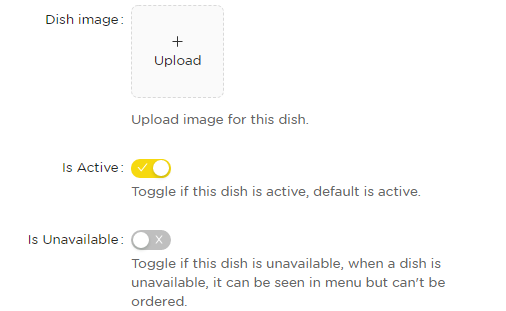
Here, you can add a Dish Image which will appear to customers in the menu.
You can select if the dish/item is Inactive or Active, if it is set to inactive, it will not show on the menu.
You can also select if the dish/item is unavailable, this will still show on the menu but cannot be selected.