Menu List
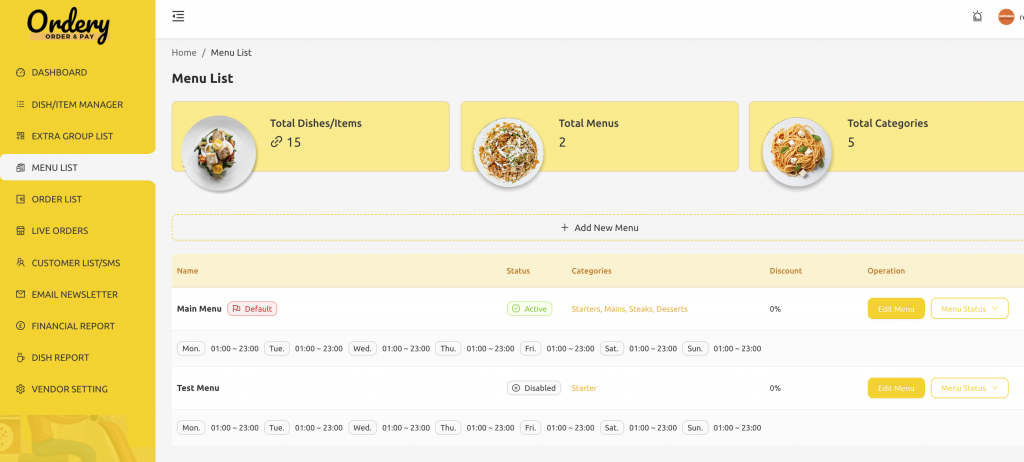
Here you can Add New Menus. You can have multiple menus available at the same time or different times which will appear to the customer and the customer can swap between. They can order some items off one menu and some off another. This is useful for example to do a lunch menu which appears during lunch times, or a happy hour during other items.
Here you can you also see the total dishes/items available in your menus, total menus and total categories.
You can also see any discounts you have applied to each menu.
Add or Edit a Menu
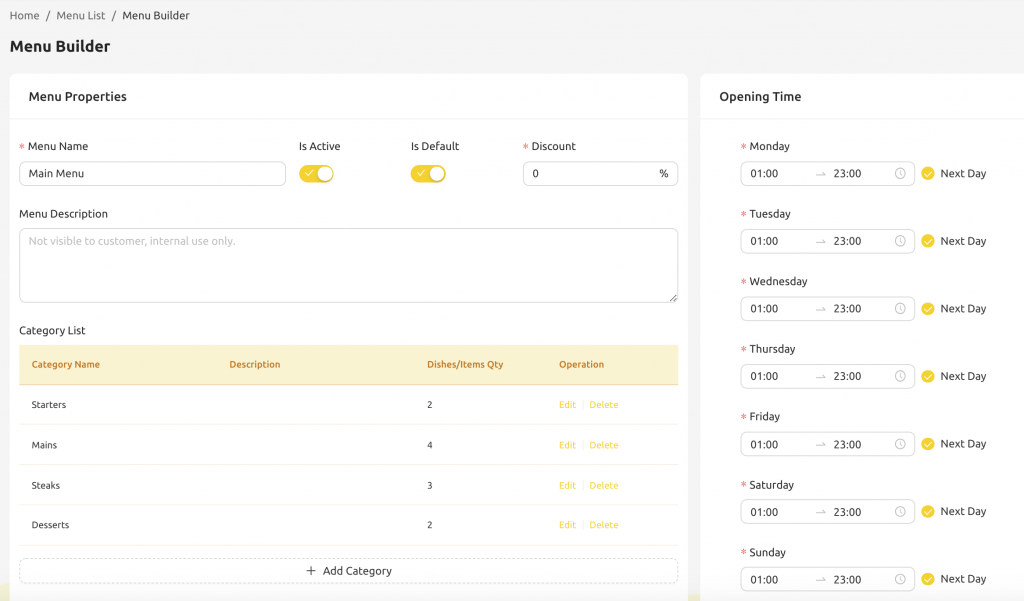
When adding a menu, add your menu name, and service days and times. If you are open past midnight click the Next Day toggle. E.g. If you are open 9am to 2am the next day, put that and click the next day toggle.
Set your menu to active, and put a menu description if you want to.
Discounts

Here you can set the discount percentage to be applied to the menu. This is a fast way to reduce prices, e.g. if you have a dish for £10, and you set a 10% discount, it will now appear on the menu as £9, without you having to edit the dish prices.
Add your categories e.g. Starter, Main, Dessert, on each category ensure you click save.
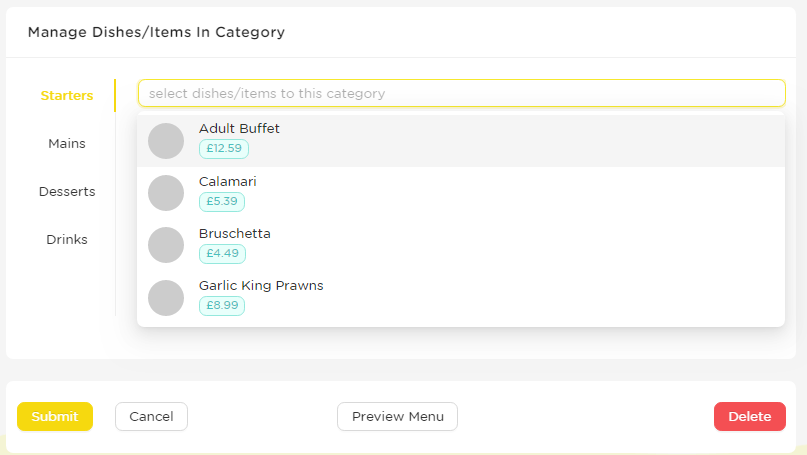
Once you have your categories saved, they will appear below, here you can add the dishes to each category. You can drag them up and down on what order they should appear.
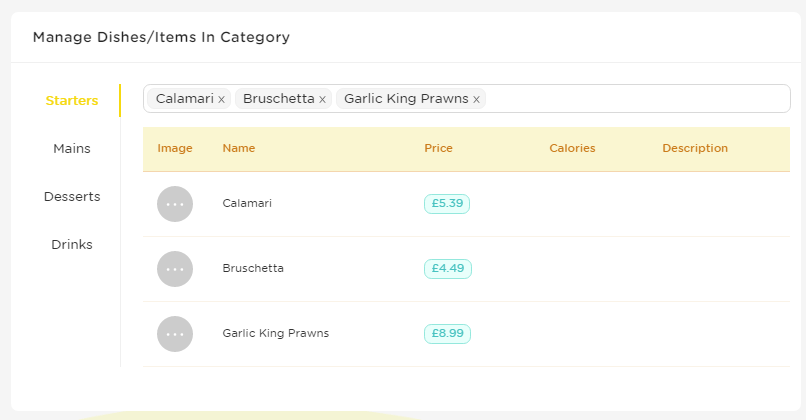
Once you’ve added your categories and added your dishes to your categories, your menu is good to go!